
How do I install Bloom Path Lights for a DIY project?
 Maya ChenContributing Editor
July 23, 2026 — Installing Bloom Path Lights typically requires zero technical wiring expertise, provided the user selects the solar-powered stake variants rather than traditional hardwired low-voltage systems.
Homeowners often approach outdoor lighting with an assumption of complexity involving trenching and voltage calculations. This concern is valid for traditional architectural systems, but the shift toward modular, self-contained units has fundamentally changed the barrier to entry for residential landscape enhancement.
Is professional installation required for Bloom Path Lights?
Professional installation is unnecessary for the majority of Bloom Path Lights configurations because they utilize a tool-free stake design. The conventional wisdom says that all landscape lighting requires a licensed electrician or at least a weekend of digging trenches, but this ignores the efficiency of high-output solar technology. For those choosing to integrate these into a broader low-voltage network, the technical demands increase significantly. According to Lighting Doctor Ltd., beginners installing low-voltage systems should always start wiring from the transformer to allow for real-time testing and error correction. However, for the standard Bloom Path Lights user, the process is reduced to soil preparation and positioning. Here's the part nobody talks about: the most difficult part of the installation isn't the wiring—it's the ground density. If your soil is compacted, you risk snapping the stake regardless of the brand's build quality. I'll change my mind when I see a stake design that can penetrate dry clay without pre-drilling or saturation.
How does the Bloom Path Lights setup compare to low-voltage systems?
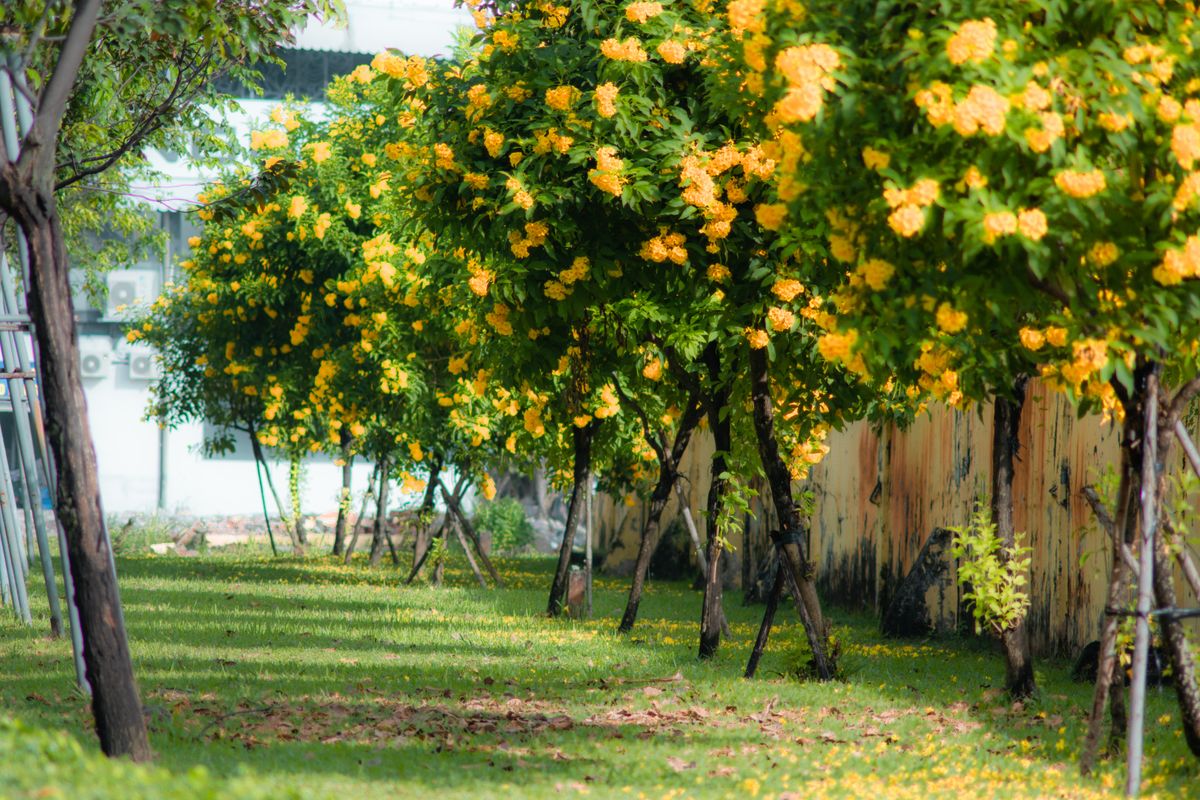
Photo by 🇻🇳🇻🇳Nguyễn Tiến Thịnh 🇻🇳🇻🇳 on Pexels
Setting up Bloom Path Lights is significantly faster than low-voltage alternatives because it eliminates the need for wire mapping and transformer sizing. Run the math: a standard 10-light low-voltage system requires roughly 100 feet of 12/2 gauge wire, a 150-watt transformer, and at least four hours of labor to bury lines at the NEC-recommended depth. In contrast, a solar-based Bloom setup takes approximately 15 minutes for the same number of fixtures. While VOLT Lighting notes that 12V low-voltage systems are safe and carry little risk of shock, they still require a physical connection to a home's power grid. Bloom Path Lights bypass this infrastructure entirely. This makes them ideal for renters or those with established gardens where digging would disturb mature root systems. While modern garden path lights often follow a specific aesthetic framework, the installation mechanics remain the primary differentiator in project cost and duration.
Quick answers
Q: Do I need to bury wires for Bloom Path Lights? A: No, if you are using Bloom Path Lights solar stakes, no wiring or trenching is required. You simply insert the stake into the ground in an area with at least 6 hours of direct sunlight.
Q: Can Bloom Path Lights be installed in hard soil? A: Installation in hard or frozen ground requires pre-moistening the soil or using a pilot hole tool to prevent damage to the stake. Never use a hammer directly on the LED garden stake flower lights as this can crack the internal solar housing.
Q: How far apart should Bloom Path Lights be spaced? A: For optimal safety and aesthetic coverage, space each fixture 6 to 8 feet apart. This ensures a continuous light path without creating the "runway effect" often seen with over-saturated DIY installations.
Learn more about Bloom Path Lights at https://bloompathlights.com.
Sources
- Easy How to Install Low Voltage Landscape Lighting for ...
- How to Install Landscape Lighting Like A Pro
- How to Install Landscape Lighting: Step-by-Step Guide