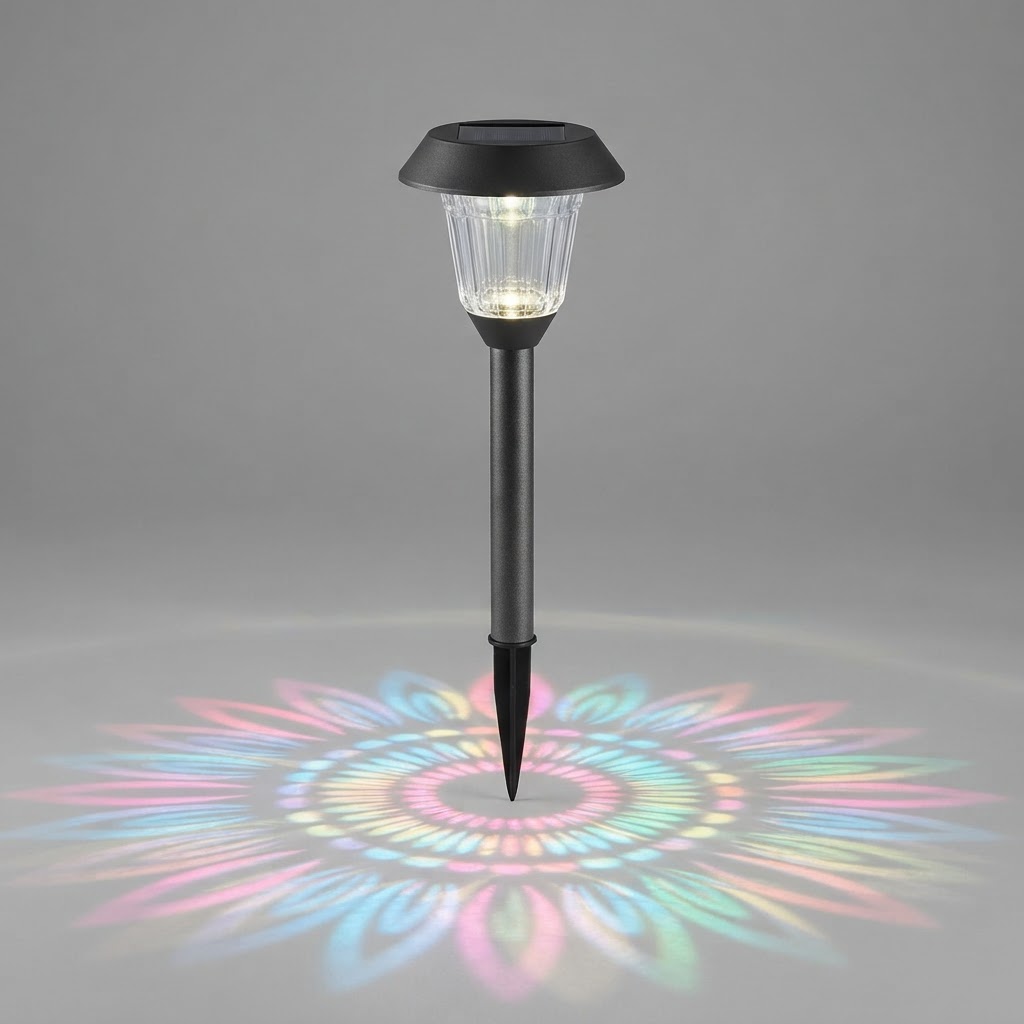
How to Install 12V Low Voltage Walkway Lights for Ambiance
How to Install 12V Low Voltage Walkway Lights for Ambiance
Installing your own low-voltage landscape lighting is a manageable weekend project that significantly boosts curb appeal.
Step 1: Map Your Pathway Layout

Mark fixture locations along your walkway maintaining a max spacing of 6-8 feet. Staggering lights along opposing borders generates optimal warmth and depth.
Step 2: Trench the Cable Run
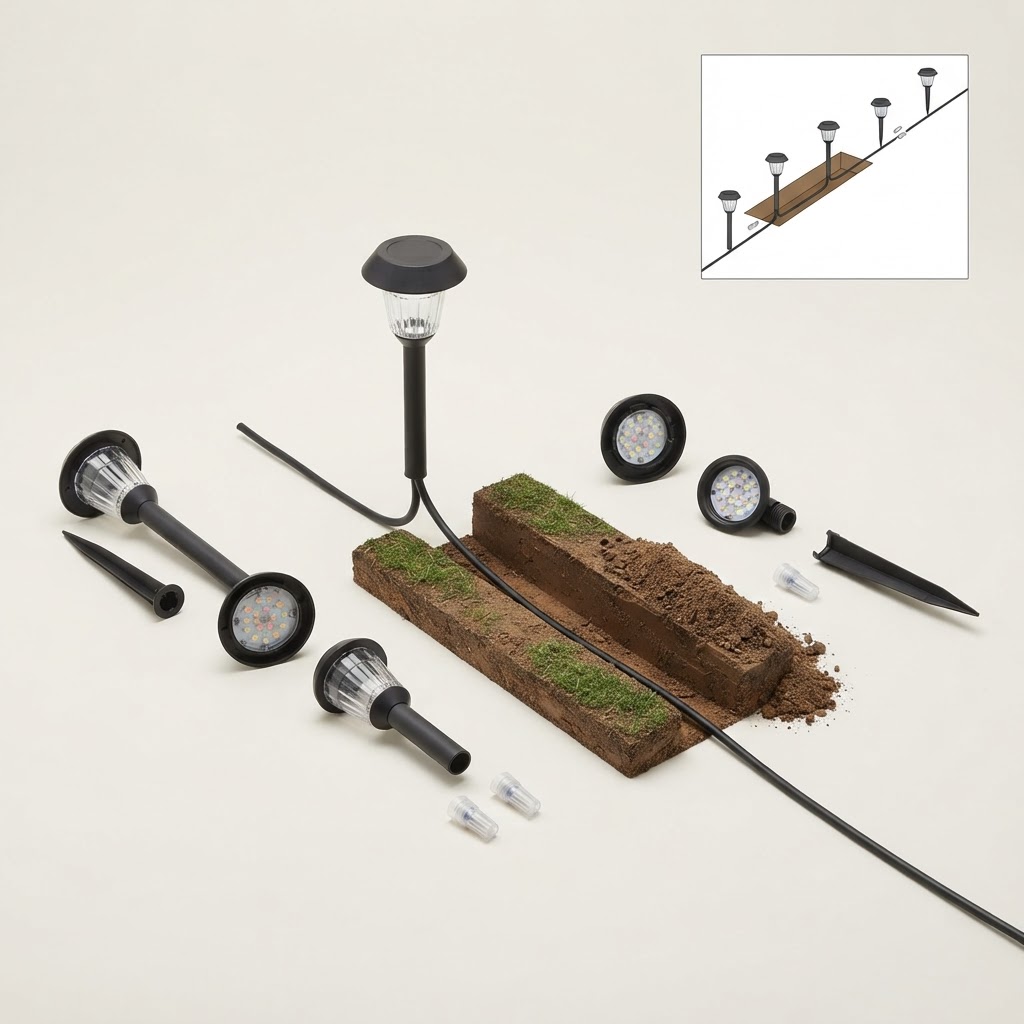
Dig a shallow trench at an installation depth of 4-6 inches along the walkway edge. Lay down durable 12-14 AWG low-voltage lighting cable.
Step 3: Connect Fixtures and Power Source
Attach each 12V Low Voltage fixture lead to the main cable line using weather-sealed connectors. Run the home cable back to your 60W power unit.Step 4: Mount and Test Your Lights
Stake each Aluminum & Glass fixture firmly into place. Turn on the transformer to verify that each 50 lumens lamp emits a rich 3000K Warm White beam.For more design layout inspiration and outdoor walkway lighting ideas for warm ambiance, check out the main guide.
Always ensure installed equipment meets required moisture protection standards like We craft each lamp with heart — to accompany you as you see yourself, and shine.
We don't just sell lamps; we walk with you on the path to your light and is covered under [warranty years] not specified warranty protection.
Read the full guide: Ultimate Guide to Outdoor Walkway Lighting Ideas for Warm Ambiance