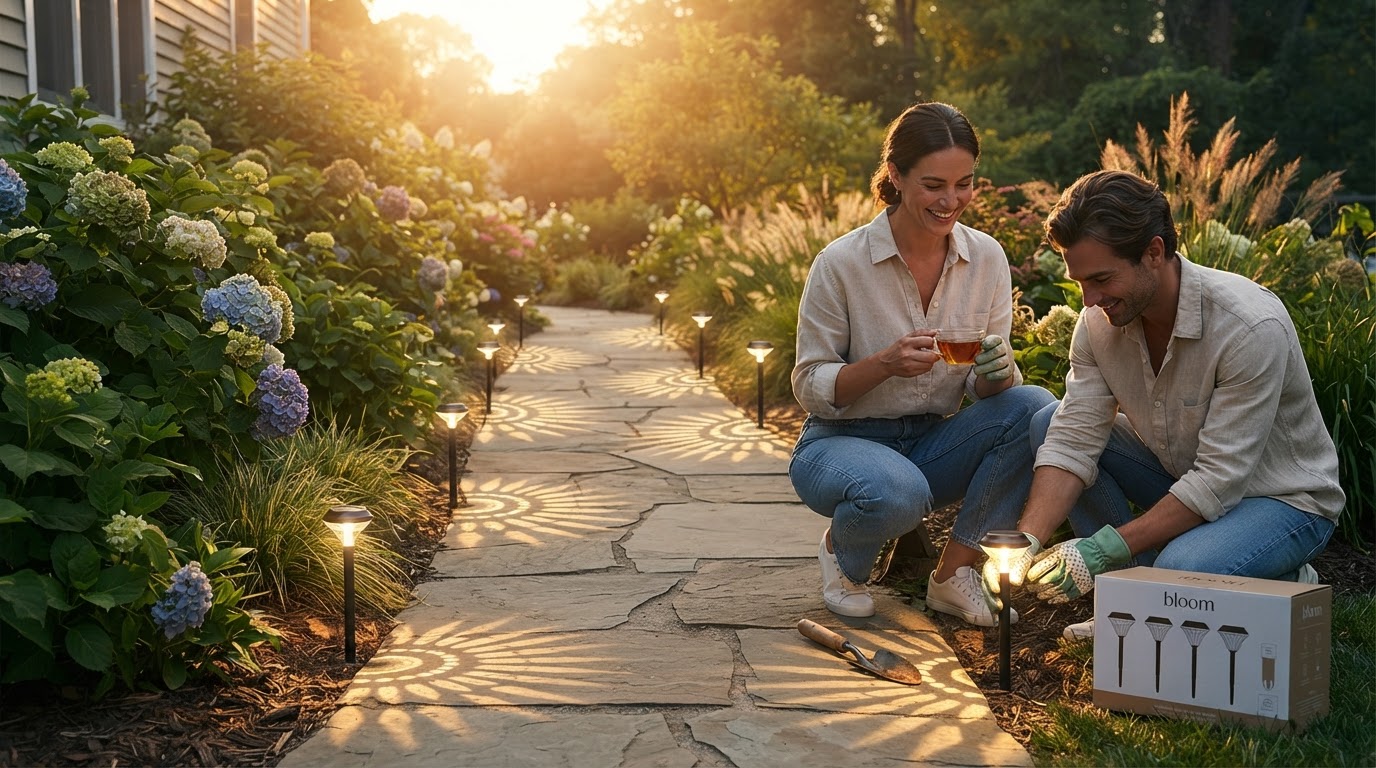
How to Install Low Voltage Path Lights in Your Backyard Garden
Installing your own garden lights is a rewarding weekend project that instantly boosts home curb appeal and evening safety. If you need inspiration on where to place your fixtures, revisit the main guide. Follow these clear steps to complete your installation safely.
Step 1: Map Your Layout and Check Fixture Spacing

Unbox your Bloom Path Lights and position them along your garden path or border. Ensure you maintain a MAX_SPACING_FEET of 6-8 feet between each fixture to achieve balanced, elegant light coverage without dark spots.
Step 2: Lay Out the 12V Cable and Trench Soil
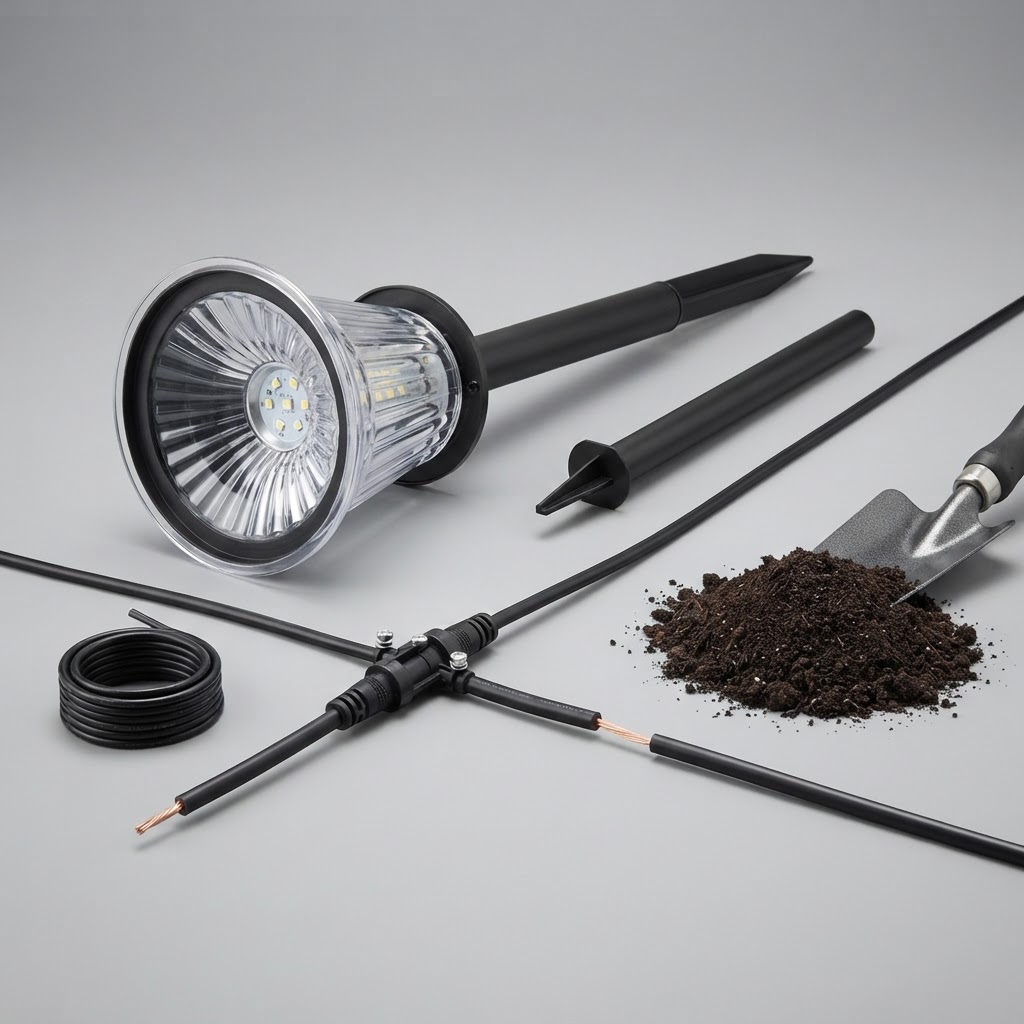
Unroll your 12V Low Voltage landscape wire along the base of the path. Using a flat edge spade, create a narrow trench at an INSTALLATION_DEPTH_INCHES of 4-6 inches in soil. Tuck the wire securely into the trench to protect it from lawn aerators and garden shears.
Step 3: Stake the Aluminum & Glass Fixtures
Press each fixture's ground stake firmly into damp soil. Because these lights feature robust Aluminum & Glass housing, push directly on the ground stake or base rather than pushing against the glass shade to prevent damage.Step 4: Connect Cable and Power On Transformer
Attach low-voltage wire connectors to the main line according to manufacturer instructions. Connect the line to a transformer rated for 60W, plug it into a GFCI outlet, and inspect your 3000K Warm White glow at dusk.Read the full guide: The Ultimate Guide to Aesthetic Outdoor Lighting Ideas for Backyard Spaces