
How to Install 12V Low Voltage Walkway Lights Step-by-Step
Installing low-voltage outdoor lighting enhances your home's curb appeal and nighttime safety. Follow this step-by-step guide to complete a smooth DIY installation using low-voltage pathway components.
For a full breakdown of design strategies and light layout planning, consult the main guide to ground lighting.
Step 1: Map the Pathway and Layout

Begin by placing your lighting fixtures along your garden or paver pathway. Keep fixture spacing at 6-8 feet to ensure continuous ground lighting without generating harsh overlapping glare. Stagger lights along alternating sides of the walkway for optimal visual balance.
Step 2: Set Up the Transformer Unit
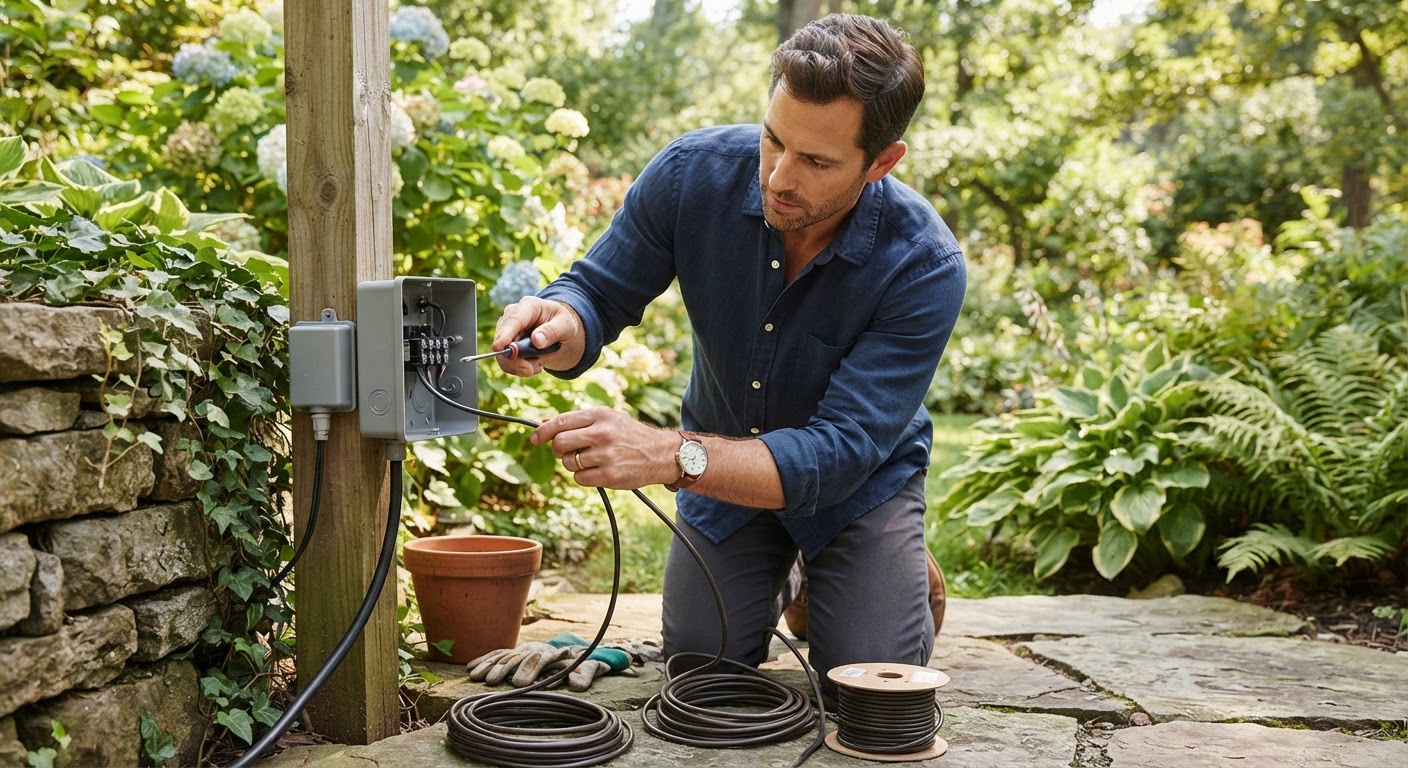
Mount your central power transformer near an outdoor GFCI outlet. For standard residential path runs, a 60W transformer provides clean power to multiple LED fixtures. Keep the power unit unattached from electrical output until all wiring connections are completed.
Step 3: Trench and Lay Low Voltage Cable
Uncoil your 12V Low Voltage direct-burial cable along the path layout. Dig a shallow trench at an installation depth of 4-6 inches using a flat spade. Place the main cable into the trench, leaving a small loop of extra slack near each light location to make wiring connections effortless.
Step 4: Connect and Mount the Fixtures
Attach each light fixture to the main power cable using outdoor direct-burial pressure connectors. Push the ground stake of each fixture straight into the ground until stable. Ensure your fixtures feature durable Aluminum & Glass construction to resist soil corrosion and weather wear.
Step 5: Test and Adjust Your Walkway Lights
Attach the main wiring lead into the output terminals of your power hub. Plug the unit into your outdoor GFCI outlet. Confirm each lamp illuminates with its warm 50 lumens output. Once verified, backfill the trench with soil, lightly pack the earth, and adjust fixture angles to perfect your evening landscape view.
Read the full guide: How to Landscape Light a Walkway: The Complete Design & Installation Guide