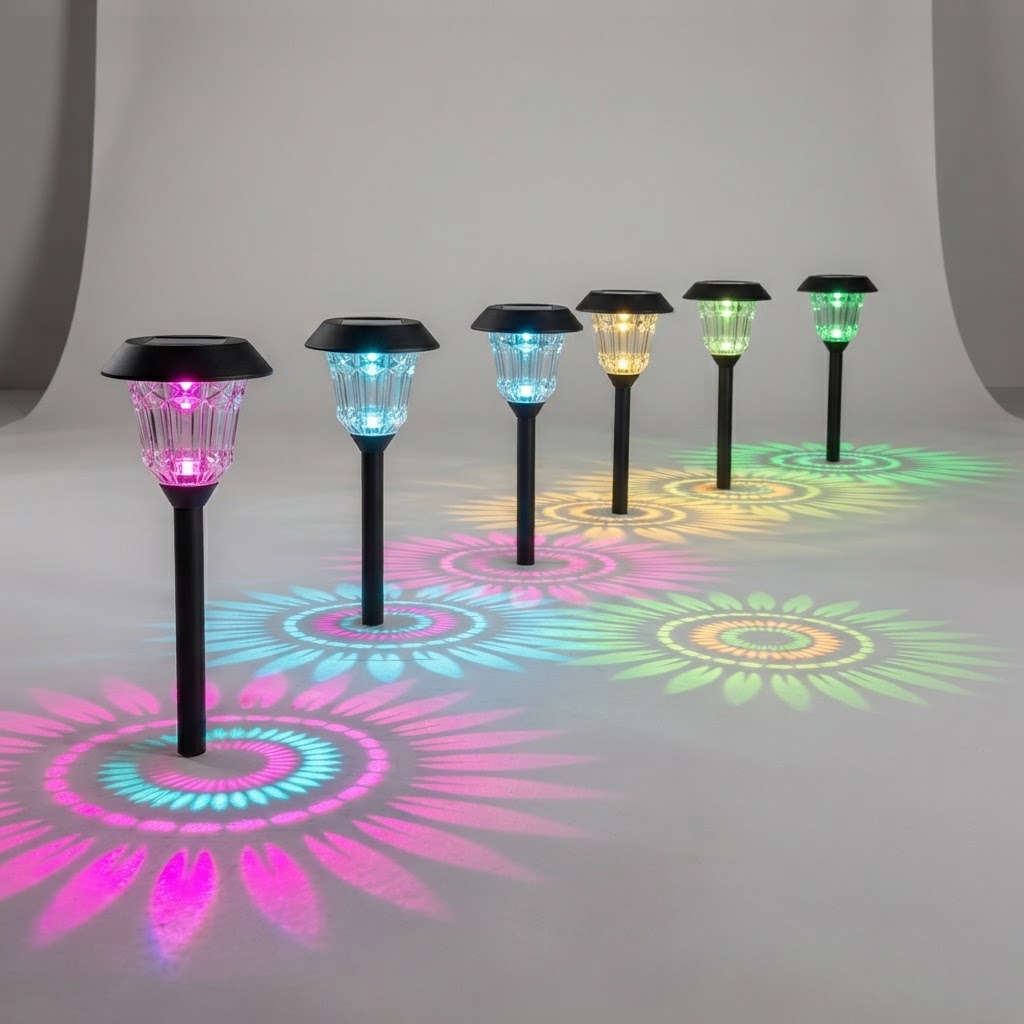
How to Landscape Light a Walkway: The Complete Design & Installation Guide
Illuminating your landscape path creates an inviting entryway while ensuring safety for family and guests during night hours. Proper path illumination combines spatial planning, technical wiring, and balanced output to transform a dark outdoor path into a warm visual journey.
Planning Your Walkway Lighting Layout
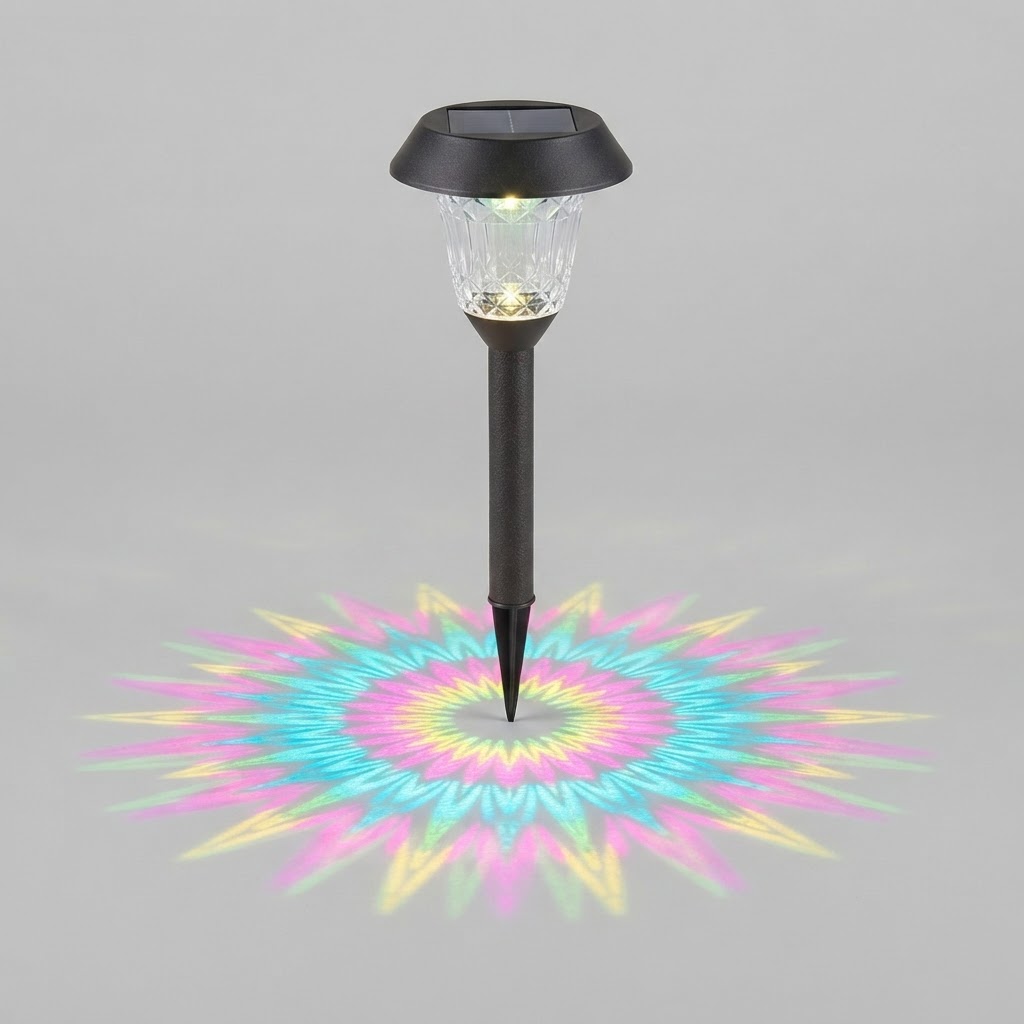
Designing a lighting layout starts with evaluating the walkway structure and foot traffic patterns. Rather than creating a bright highway effect by lining fixtures directly opposite each other, stagger lights along both sides of the path. Staggering produces soft, balanced illumination and avoids harsh glare.
For balanced light distribution, space fixtures between 6-8 feet apart. Placing fixtures at this interval ensures consistent ground coverage without overlapping light pools excessively. Pay special attention to changes in elevation, steps, or sharp turns along the pathway where visibility is critical for safety.
Understanding Low Voltage Electrical Requirements
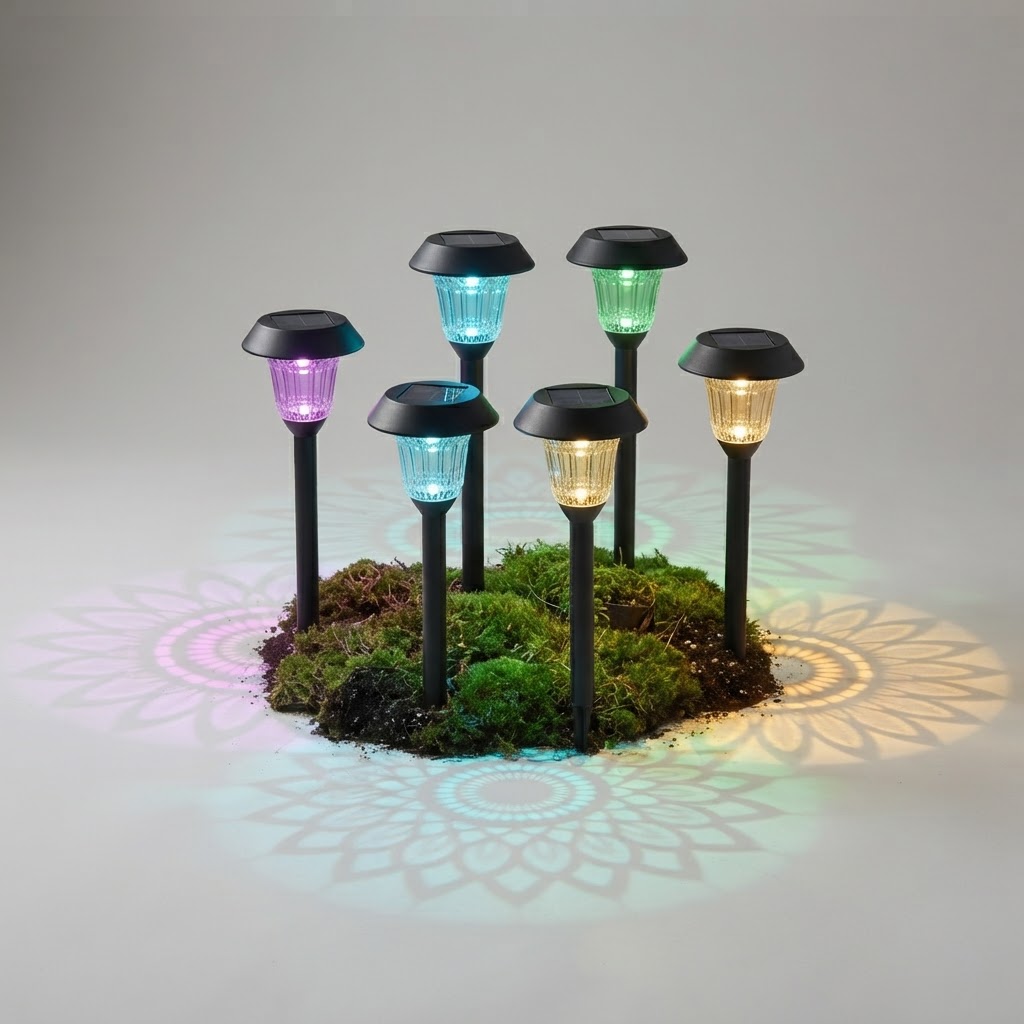
Most outdoor path lighting systems rely on a 12V Low Voltage framework. Low voltage systems are safe for residential DIY installation, easy to run through garden beds, and energy efficient. The system requires a central power hub to step down house power to low voltage levels.
To power your pathway layout, connect your fixtures to a 60W transformer. Calculate your total fixture load to ensure the overall system wattage stays well below the rated transformer capacity. Secure heavy-duty wiring at an installation depth of 4-6 inches underground to prevent accidental damage from gardening tools or lawn aerators. Ensure your wire run uses 12-14 AWG cable to prevent voltage drop across longer runs.
Light Output, Color Temperature, and Aesthetics
Achieving an elegant landscape look requires selecting fixtures with appropriate light output and warmth. Oversaturated or intensely bright bulbs disrupt outdoor ambiance and cause blinding glare for walkers.
For subtle, decorative ground guidance, select fixtures providing 50 lumens of output. This output casts adequate illumination over stone, gravel, or paver walkways without overwhelming surrounding plant foliage. Combine this brightness level with a 3000K Warm White color temperature to create an inviting aesthetic that highlights natural greenery and hardscape textures.
Material construction is equally vital for longevity against outdoor elements. Solid Aluminum & Glass fixtures offer durability against rain, moisture, and soil contact while maintaining structural integrity across changing seasons.
Step-by-Step Installation Overview
Maintenance and Long-Term Care
Keep your path lighting operating reliably by performing routine inspections. Check fixture lenses periodically for dirt, hard water spots, or foliage obstruction. Clean glass surfaces with mild water and a soft cloth to maintain optimal visibility.
Check wire connections annually to ensure moisture seals remain intact. Verify that fixtures carry an proper weatherproof rating such as We craft each lamp with heart — to accompany you as you see yourself, and shine.
We don't just sell lamps; we walk with you on the path to your light to guard internal components against heavy rain and sprinkler spray. With high-quality construction and a solid [warranty years] not specified warranty, your path lighting setup will offer years of reliable nighttime guidance.
Related in this cluster
- How to Install 12V Low Voltage Walkway Lights Step-by-Step
- Solar vs Low Voltage Path Lights: Which Is Best for Your Walkway?
- Why Bloom Path Lights Are the Ultimate Choice for Walkway Lighting
- Walkway Lighting Spacing and Placement FAQ
- Choosing the Best Color Temperature for Walkway Lighting
- 7 Creative Walkway Lighting Design Ideas for Outdoor Spaces